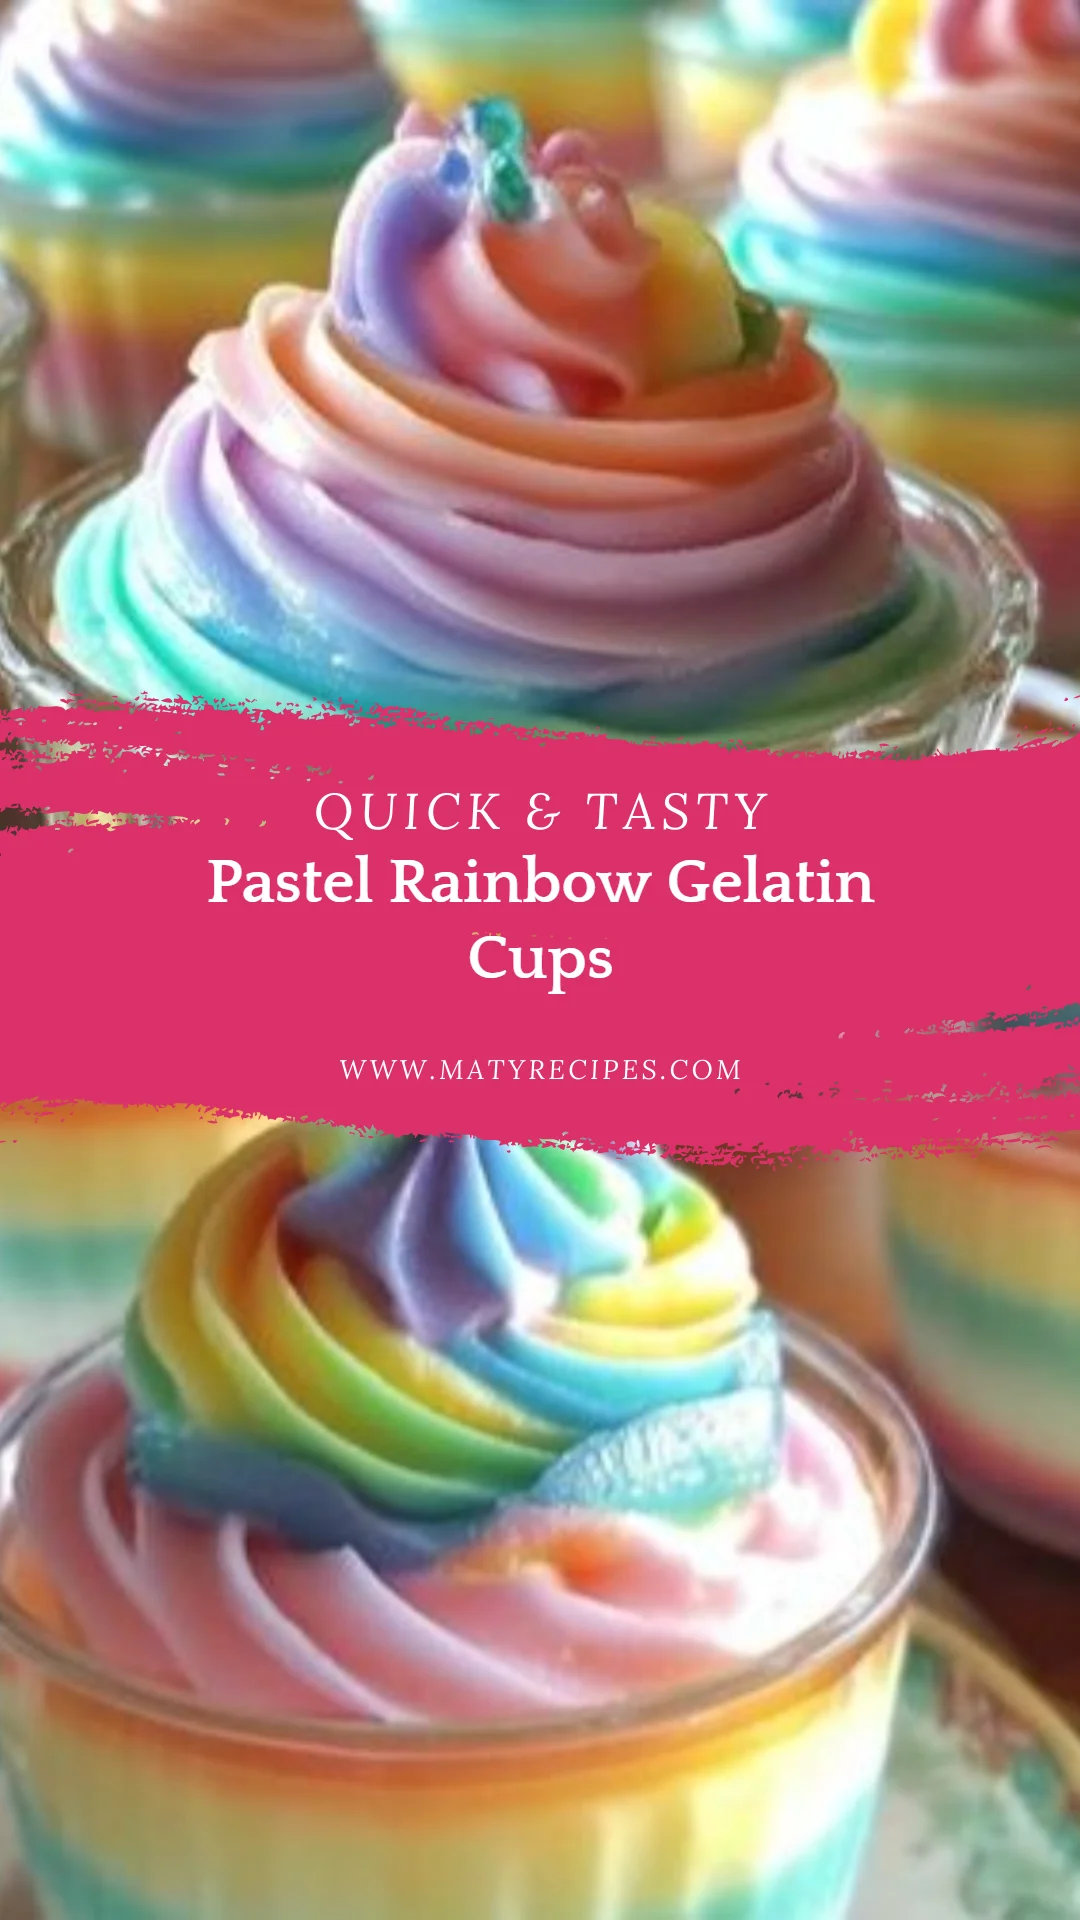
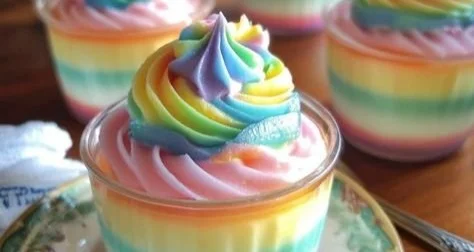
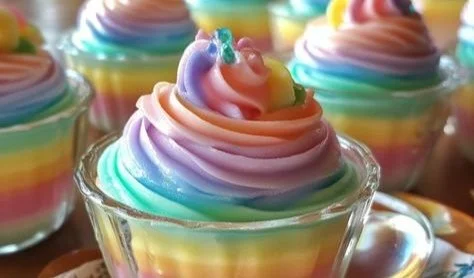
These pastel layered treats are bright, simple, and perfect for parties or snacks. Pastel Rainbow Gelatin Cups set up quickly and look impressive with minimal effort, making them ideal for busy hosts or family gatherings. If you love easy no-bake desserts, try these Oreo no-bake cheesecake cups for another crowd-pleasing option.
Why You’ll Love This Pastel Rainbow Gelatin Cups
- Kid-friendly colors and fun presentation
- Quick to prepare with no baking required
- Easy to make ahead for parties and potlucks
- Light, refreshing dessert after a heavy meal
- Great for leftovers and portable in clear cups
Ingredients Needed
- Gelatin Flavors
- 1 package (3 oz) strawberry gelatin
- 1 package (3 oz) lime gelatin
- 1 package (3 oz) lemon gelatin
- Liquids
- 3 cups boiling water
- 1 1/2 cups cold water
- Toppings & Serving
- Whipped cream for topping, as desired
- Clear plastic cups or small clear glasses
Step-by-Step Instructions 5 (always use H2 and H3)
1. Mix the first gelatin flavor
Prepare the first gelatin flavor according to package instructions by stirring 1 cup boiling water into one package until dissolved, then add about 1/2 cup cold water.
2. Pour and chill first layer
Pour a thin layer of the first gelatin into each cup and refrigerate until fully set, about 1–2 hours.
3. Prepare the second flavor
While the first layer sets, dissolve the second gelatin flavor in 1 cup boiling water, stir until dissolved, then add about 1/2 cup cold water and cool slightly before using.
4. Add middle and top layers
Repeat with the remaining colors, pouring each layer gently over the back of a spoon and refrigerating until fully set before adding the next layer.
5. Finish and serve
Once all layers are firm, top with a dollop of whipped cream and serve chilled.
Serving Suggestions Pastel Rainbow Gelatin Cups
- Serve with a small scoop of vanilla ice cream for extra indulgence.
- Add fresh berries on top for color contrast and texture.
- Pair with light tea or sparkling lemonade for a refreshing combo and include a creamy option like Oreo no-bake cheesecake cups on the dessert table.
- Present in mini mason jars or clear shot glasses for a charming display.
Tips for Success Pastel Rainbow Gelatin Cups
- Chill time matters: ensure each layer is fully set before adding the next to prevent blending.
- Cool slightly before pouring a new layer to avoid melting the layer beneath.
- Use the back of a spoon for gentler pouring and smoother layers.
- Store covered in the fridge for up to 3 days to maintain texture.
- For more make-ahead party ideas, check this easy no-bake cheesecake cups recipe for inspiration.
Variations
Here are a few easy ways to change it up:
- Make dairy-free: use coconut whipped topping and ensure gelatin brands fit your dietary needs.
- Add texture: sprinkle crushed cookies or toasted coconut between layers once semi-set.
- Color swaps: use different flavored gelatins to create a custom palette that matches your event.

Follow us on Pinterest for more cozy ideas.
Pastel Rainbow Gelatin Cups
Ingredients
Gelatin Flavors
- 1 package (3 oz) strawberry gelatin
- 1 package (3 oz) lime gelatin
- 1 package (3 oz) lemon gelatin
Liquids
- 3 cups boiling water
- 1 1/2 cups cold water
Toppings & Serving
- to taste whipped cream for topping
- as needed clear plastic cups or small clear glasses
Instructions
Preparation
- Prepare the first gelatin flavor according to package instructions by stirring 1 cup boiling water into one package until dissolved, then add about 1/2 cup cold water.
- Pour a thin layer of the first gelatin into each cup and refrigerate until fully set, about 1–2 hours.
- While the first layer sets, dissolve the second gelatin flavor in 1 cup boiling water, stir until dissolved, then add about 1/2 cup cold water and cool slightly before using.
- Repeat with the remaining colors, pouring each layer gently over the back of a spoon and refrigerating until fully set before adding the next layer.
- Once all layers are firm, top with a dollop of whipped cream and serve chilled.